
Ernest Nicholas Miller
Harpsichords in the Flemish and French Traditions
Workshop...
Installing the Hitchpin Rails
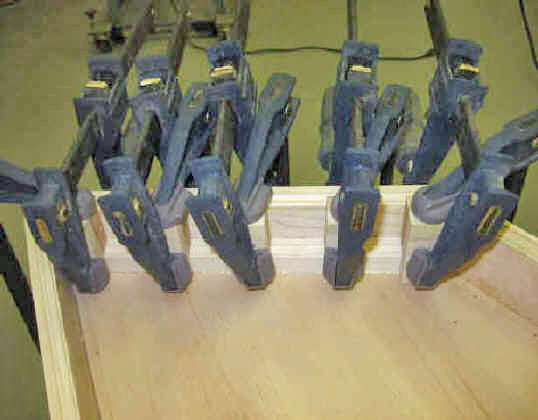
The hitchpin rails are glued to the soundboard and the case sides. They are 1/2" wide and vary in height from 1/4" to 3/4". These rails have hitchpins embedded into them that will have the far end of the strings looped around them. These rails have to withstand a lot of tension from the strings, and are one area that can fail catastrophically if they're not glued firmly in place. In order to glue these effectively, clamping pressure must be applied downward onto the soundboard and backwards against the case sides. This requires the use of shop made cauls that allow for pressure from a single clamp to provide clamping pressure in both directions. The photo on the left shows the tail hitchpin rail being glued in place. The hitchpin rail that goes against the bentside must be pre-curved before attempting to glue it in. This is done by soaking the rail overnight in wet towels. The next day, the rail is placed into a steambox for 15 to 20 minutes. When it's removed from the steambox, it is immediately clamped into position in the case and allowed to dry thoroughly. Once dry, it should retain its curve well enough to be glued and clamped into position.